Configuring and managing your server
How to install a custom modpack (CURSE: ALL THE MODS )

We provide most curse modpack on auto-install.
You can one-click install most of them, under the version page, FTB or Curse section.
This tutorial shows you how to install yourself a modpack not listed, this tutorial assumes a basic understanding of Minecraft servers and may not be suitable for beginners. You can also simply ask us to add the modpack for you to the list.
Prerequisite
You need for this tutorial:
The modpack server files that we will use for the exemple from curseforge
FileZilla or WinSCP for FTP connection.
We will see together the basic steps:
- Download the latest server files from CurseForge and extract them on your computer.
- Factory reset your Minecraft server and install the "Openmod" pack.
- Unzip the server files and install Forge by running the appropriate .bat file.
- Delete any unnecessary files, such as the Forge installer and .bat files.
- Connect to your server via FTP and upload the extracted server files.
- Create a .jar server launcher file by copying the contents of the unix_args.txt file and pasting it into a new file named "server.jar".
- Select the server.jar file as the version for your server and start the server.
Get the server files
1. Download the latest servers files from curseforge, by click on the link under Additional Files, Server-Files-1.0.10.zip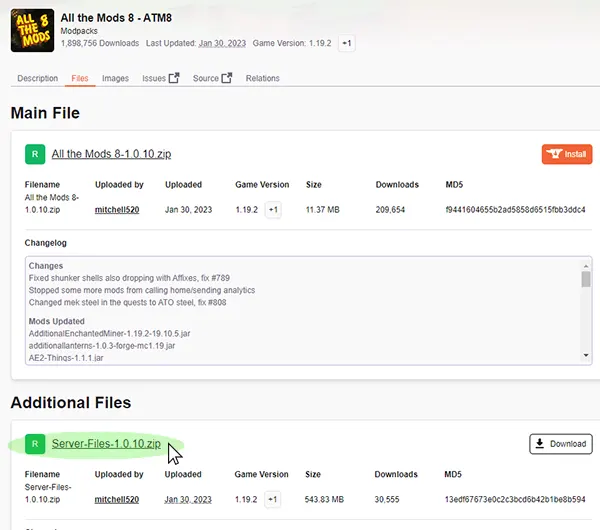
2. And click on the download button.
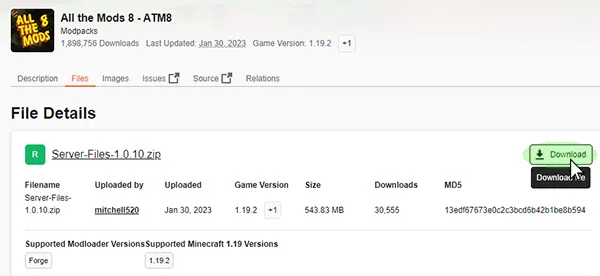
Go to your panel during the download
Factory reset your server
1. Navigate to "Versions" panel.
2. Choose "Openmod" pack for installation.
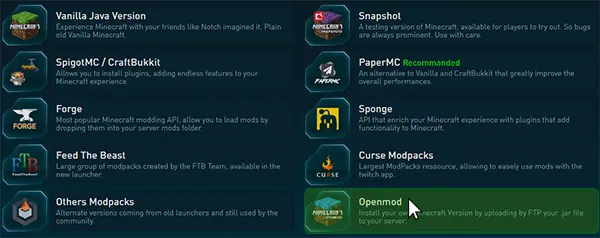
3. Click on "Openmod" pack.
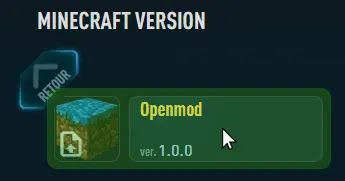
4. And click on "REINSTALL" for installation

/!\ Making a reinstallation will delete all of your current data (maps, plugins etc...), so if you want to keep your data, make a backup before from the "Backup" page by click on "BACKUP NOW" button.
5. Wait during the process.
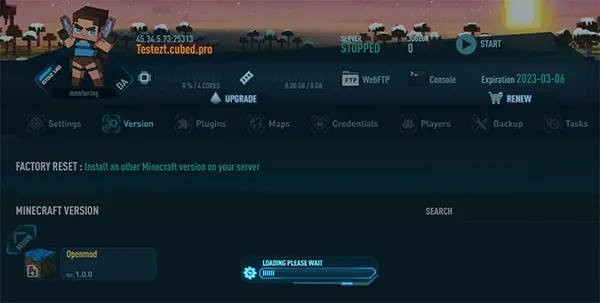
The content of your server is now erased, you can now unzip your modpack server files.
Unzip server files
1. Use Winzip or Winrar to uncompress the download server file "Server-Files.1.0.10.zip"
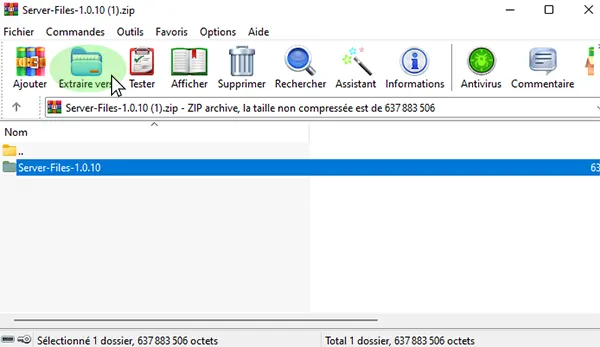
2. Navigate inside the uncompressed directory, you should see these files :
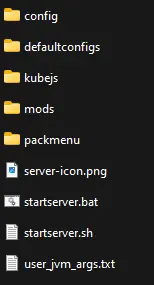
Installing Forge
1. Click on starserver.bat or any .bat file present
2. Wait the commands to finish, this will adds the forge files that you need for the server.
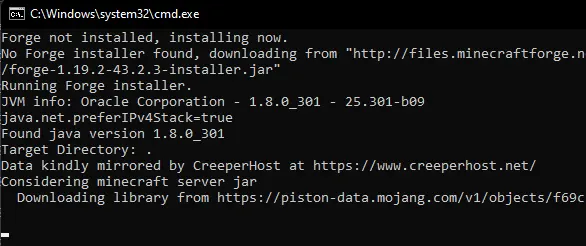
3. You should now have these files
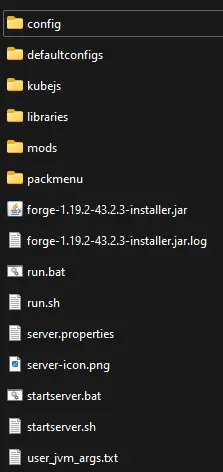
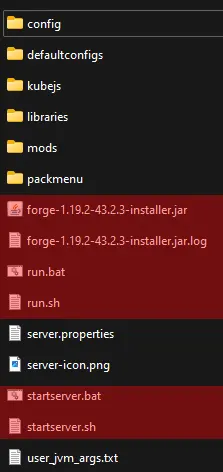
4. We don't need all of them, Delete the files : forge-1.19.2-43.2.3-installer.jar / forge-1.19.2-43.2.3-installer.jar.log / run.sh / run.bat / startserver.bat / startserver.sh
If you are installing a version before the 1.17, you should have a .jar file, keep it.
Uploading Modpack Server Files by FTP
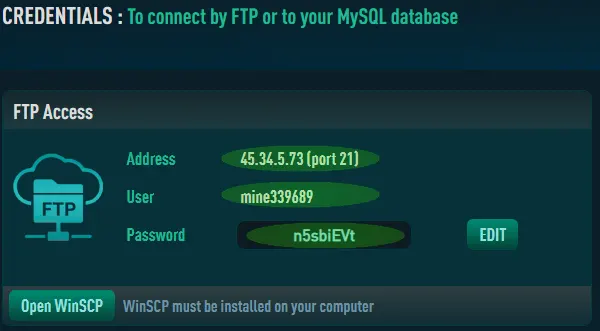
1. Go to "Credentials"

2. Note the address, user and password
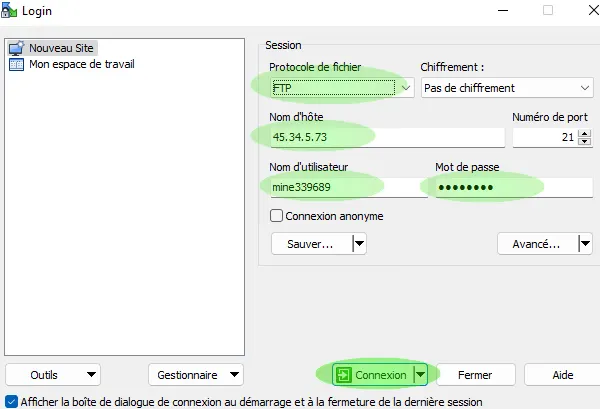
3. Open Filezilla or WinSCP and enter your FTP Credentials, then click on Connect
4. Drag and drop the all the files that you have downloaded in the server root.
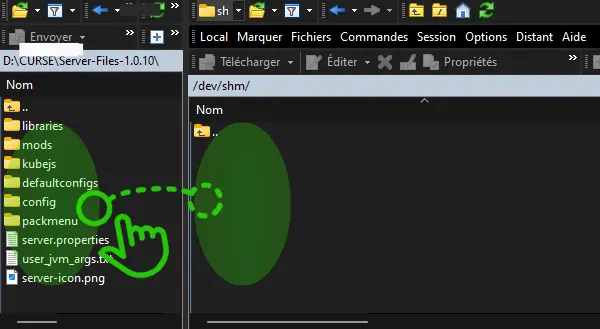
5. Wait for the transfer to terminate
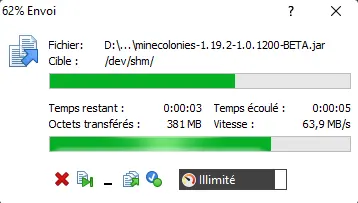
Create the .jar server launcher
Since the 1.17, the server .jar got removed from forge root folder, to use them on our hosting platform, you need to manually recreate the .jar file.
If your version is before 1.17, you can skip this part, since you should already have the .jar file server launcher.
1. Under Filezila or Winscp right windows panel (server side), navigate to :
libraries / net / minecraftforge / forge / 1.19.2-43.2.3 (or any version present)
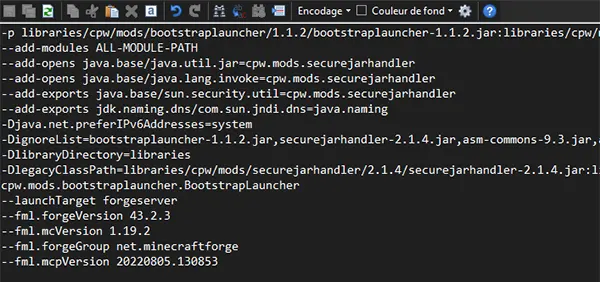
2. Open the file named unix_args.txt, and copy all of his content
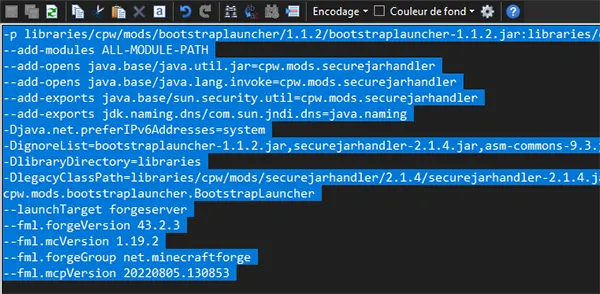
3. Navigate back to the main folder, and create a new file named server.jar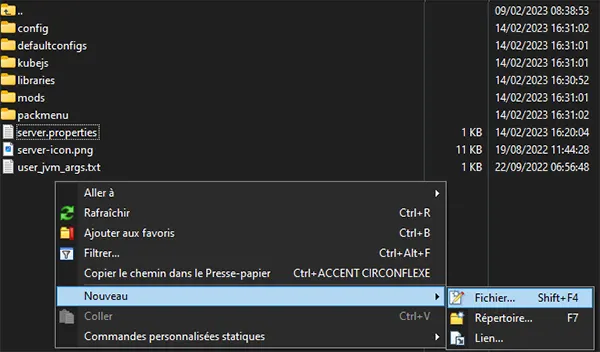

4. Past the content previously copied from unix_args.txt inside, and save
5. You should now have these files in your directory
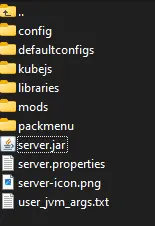
Now you are good to configure your server.
Select the .jar file as version
You now need to tell the server to use the server.jar on startup.
1. Go to "Settings" panel.
2. Click on "Server Version", select under "--Uploaded on FTP--"server" your server jar.
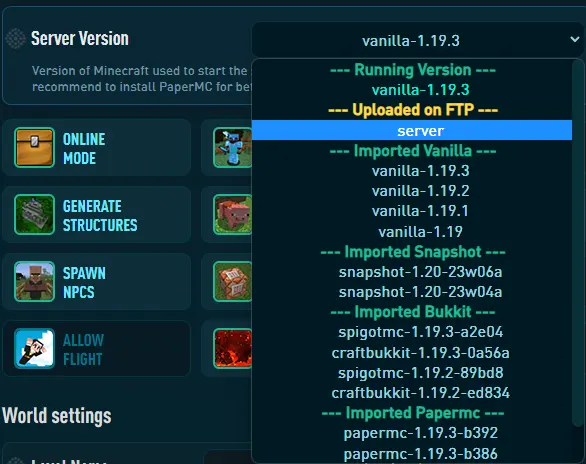
3. Click on "SAVE CHANGES". ![]()
4. START the server with play button, on the top of your panel.
5. Go to "Console" panel, to see if the server has started successfully.
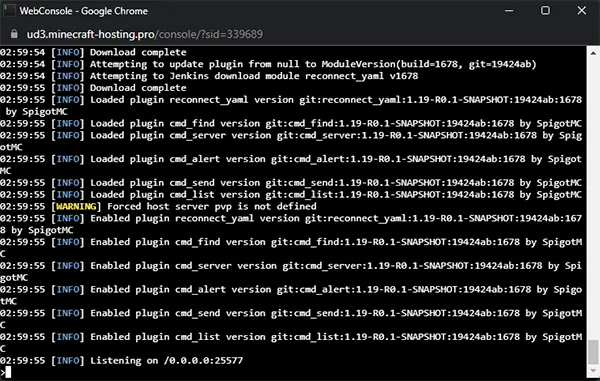
Congratulations ! You have successfully installed your own version.
Now you need to install the client on your computer, from curse or any other reliable source.
